Merchants can generate and send invoices to customers for specific transactions. They can also edit or resend that invoice as needed.
The following sections describe how to set up invoicing and how invoicing works for merchants.
Configure Default Invoice Information
To create default invoice settings for your organization:
Under Forms in the main side bar, select Invoices then Invoice Settings.
Click the edit icon in the Invoice Details or the Under The Hood section to configure settings in that section.
Enter the preferred default invoice settings. See Invoice Settings for details about each field.
Click the checkmark to save your settings.
Overview of Invoicing
The following sections describe how invoicing works in the Portal.
Items and Products
Merchants create and manage their own products, which represent the items that they can add to an invoice. Items need to be created only once and can be duplicated on an invoice if multiple are being purchased.
See Products for more information about adding and managing products.
Invoice Creation
After adding products, merchants can create invoices for those items. Merchants can:
Customize the invoice to include when they would like it sent and when it is due for payment.
Search for saved customers to autofill the customer’s information.
Input any discount and tax amounts.
Invoice Details
Invoices progress through the following statuses:
Pending: The invoice is awaiting payment.
Viewed: Indicates that the customer has viewed the invoice but has not yet paid.
Paid: The invoice has successfully been paid.
See Invoice Details for more information on invoices and the options available for managing an invoice.
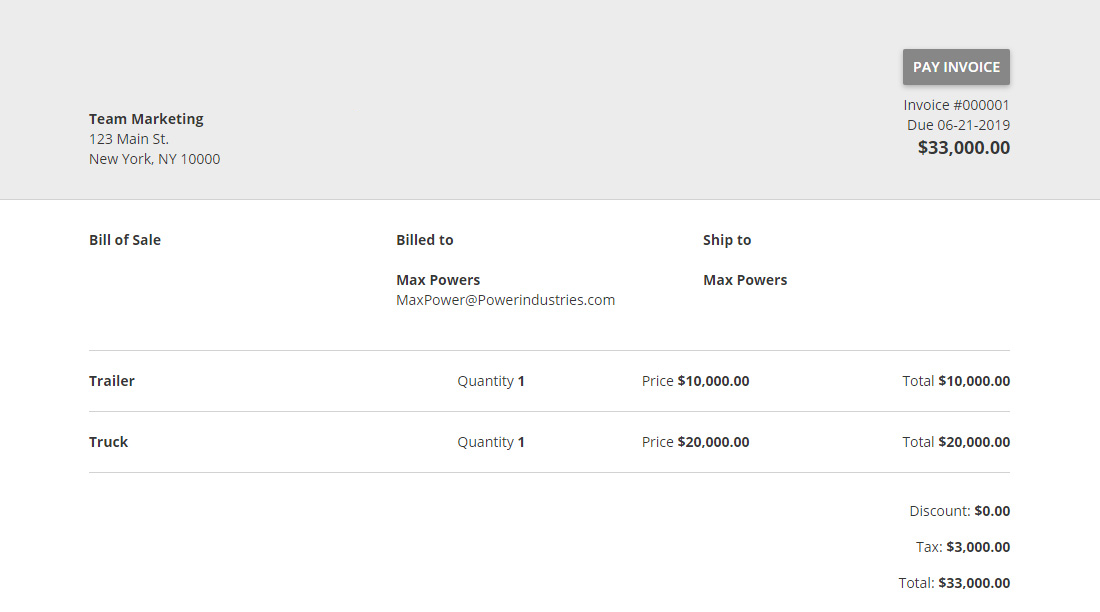
Customer Experience
The following images shows how an invoice is presented to the customer. The customer can access this invoice, click PAY INVOICE, and pay with a credit/debit card or electronic check.