This section provides instructions on how to create an invoice within the Portal.
Selecting Default Information
Follow the steps below to create default invoice settings:
Log in to the Portal.
In the Forms sections of the left navigation panel, select Invoices then Invoice Settings.
Enter the preferred default invoice settings for your organization.
Listing Items and Products
The items created on the Products page are the description and price of your products that can be added or deleted at any time. Items here need only to be created once and can be duplicated on an invoice if multiple are being purchased.
Add a Product
To add products:
Select Products in the left navigation panel.
Click Add Product.
Enter all applicable product information such as the name, price, code, and description.
Click Add.
Edit a Product
To edit an existing product:
Select the product on the Products page.
Click the edit icon.
Make any necessary changes and then select the checkmark to save your changes.
Generating Invoices
If you want to use your own invoice, to send to a customer electronically, click Upload Invoice in the upper-right corner to upload a PDF.
To generate an invoice:
Click Add Invoice to view an invoice template.
Enter the relevant information for the invoice. You can customize the invoice to include when you would like it sent and when it is due for payment.
If this is a repeat customer, you can search the customer information from previous invoices to autofill.
The Items section of the invoice provides a dropdown list of all products created. The number of items to be sold can be adjusted.
The discount and amount for tax must be inputted in dollar amounts.
When all necessary information is complete, click Save And Send to generate the invoice.
Invoice Details
The following describes the possible statuses for an invoice:
Pending: The invoice is awaiting payment.
Viewed: Indicates that the customer has viewed the invoice but has not yet paid.
Paid: The invoice has successfully been paid.
The following describes the options available on the Invoice Details page:
Link: View invoice.
Go to Invoice: Open the invoice within a new tab.
Print Invoice: Provides invoice printing options.
Edit: Make changes to the existing invoice.
Send: Email the invoice to the customer.
Mark as Paid: Changes the status of the invoice from pending to paid.
Duplicate: Make a copy of the invoice.
Delete: Delete the invoice.
Customer View
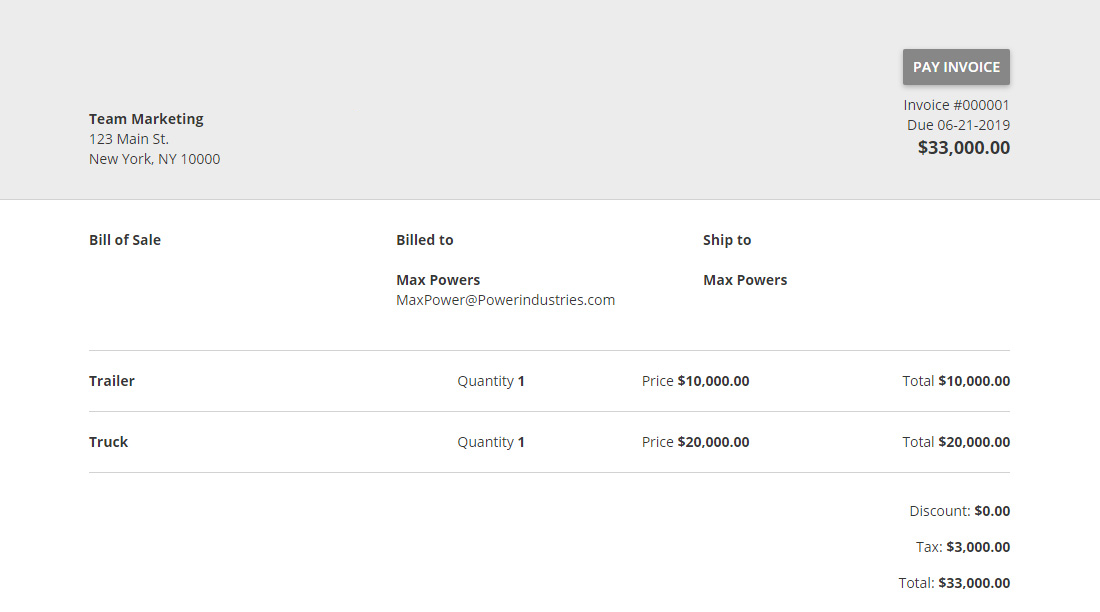
The following images shows how an invoice will be presented to the customer:

The customer can access this invoice, click PAY INVOICE, and pay with a credit/debit card or electronic check.