Using Multi-Factor Authentication (MFA)
Multi-factor authentication (MFA) is a security measure implemented for all portal users and API-integrated Partners. MFA creates an additional layer of user verification by supplying a six-digit code to an authenticator app of your choice to verify you’re the user logging in or initiating a request or action.
MFA is required when using a Session ID within the portal or Payrix Pro API. MFA works with most browsers, but review pop-up blockers that might prevent the Remember Me option from displaying.
Enable MFA for Users
MFA can be enabled for new users and existing users. No matter when a user creates their account, they can enhance their security by enabling MFA to add a layer of protection to their accounts.
Note
Referrers integrating with API-only usage are not required to use MFA because their private API key acts as their secure authentication method. To proceed with this option, disable Portal Access and Login As Access parameters from the User Profile of each API-only user.
Enable MFA for New Users
To enable MFA for a new user, access the Users page in the portal and create a new user with the parameter enabled:
Click Users from the Management section of the left navigation panel.
Click Add Users.
Add the Role or Template and the user information to the Create A New User dialog.
For Multifactor Authentication Enabled, set the value to Yes.
Click Add User to create a new user with MFA enabled.
Result: When the new user logs in to the portal for the first time, they’ll be prompted to complete MFA enrollment.
Enable MFA for Existing Users
To enable MFA for an existing user, access their User Profile page in the portal and locate the toggle:
Click Users from the Management section of the left navigation panel.
Select the user you want to modify to access their User Profile page.
Click the Edit icon.
Update the Multifactor Authentication Enabled value to Yes.
Click the Check icon in the upper right to complete and save the change.
Result: When the existing user tries to log in to the portal next, they’ll be prompted to complete MFA enrollment.
Note
Referrers using their own MFA configurations in place can use single sign-on (SSO) to automatically redirect to the portal from their native application without manual sign-in or MFA required.
Merchants using SSO to log in to the portal through their Referrer are also not required to use MFA.
See Using Single Sign-On (SSO) for more information.
Enroll Users in MFA
After MFA is enabled for the desired user, they must enroll in Payrix Pro MFA using their preferred authenticator method, such as Microsoft Authenticator, Google Authenticator, Okta Verify, or RSA SecurID, the next time they attempt to log in to the portal.
Refer to the compatibilities for MFA enrollment types by user:
Referrers: MFA authenticator app.
Merchants: MFA authenticator app or SMS number.
Enroll with an Authenticator App
Click Continue from the first MFA enrollment prompt dialog.
Select Mobile App.
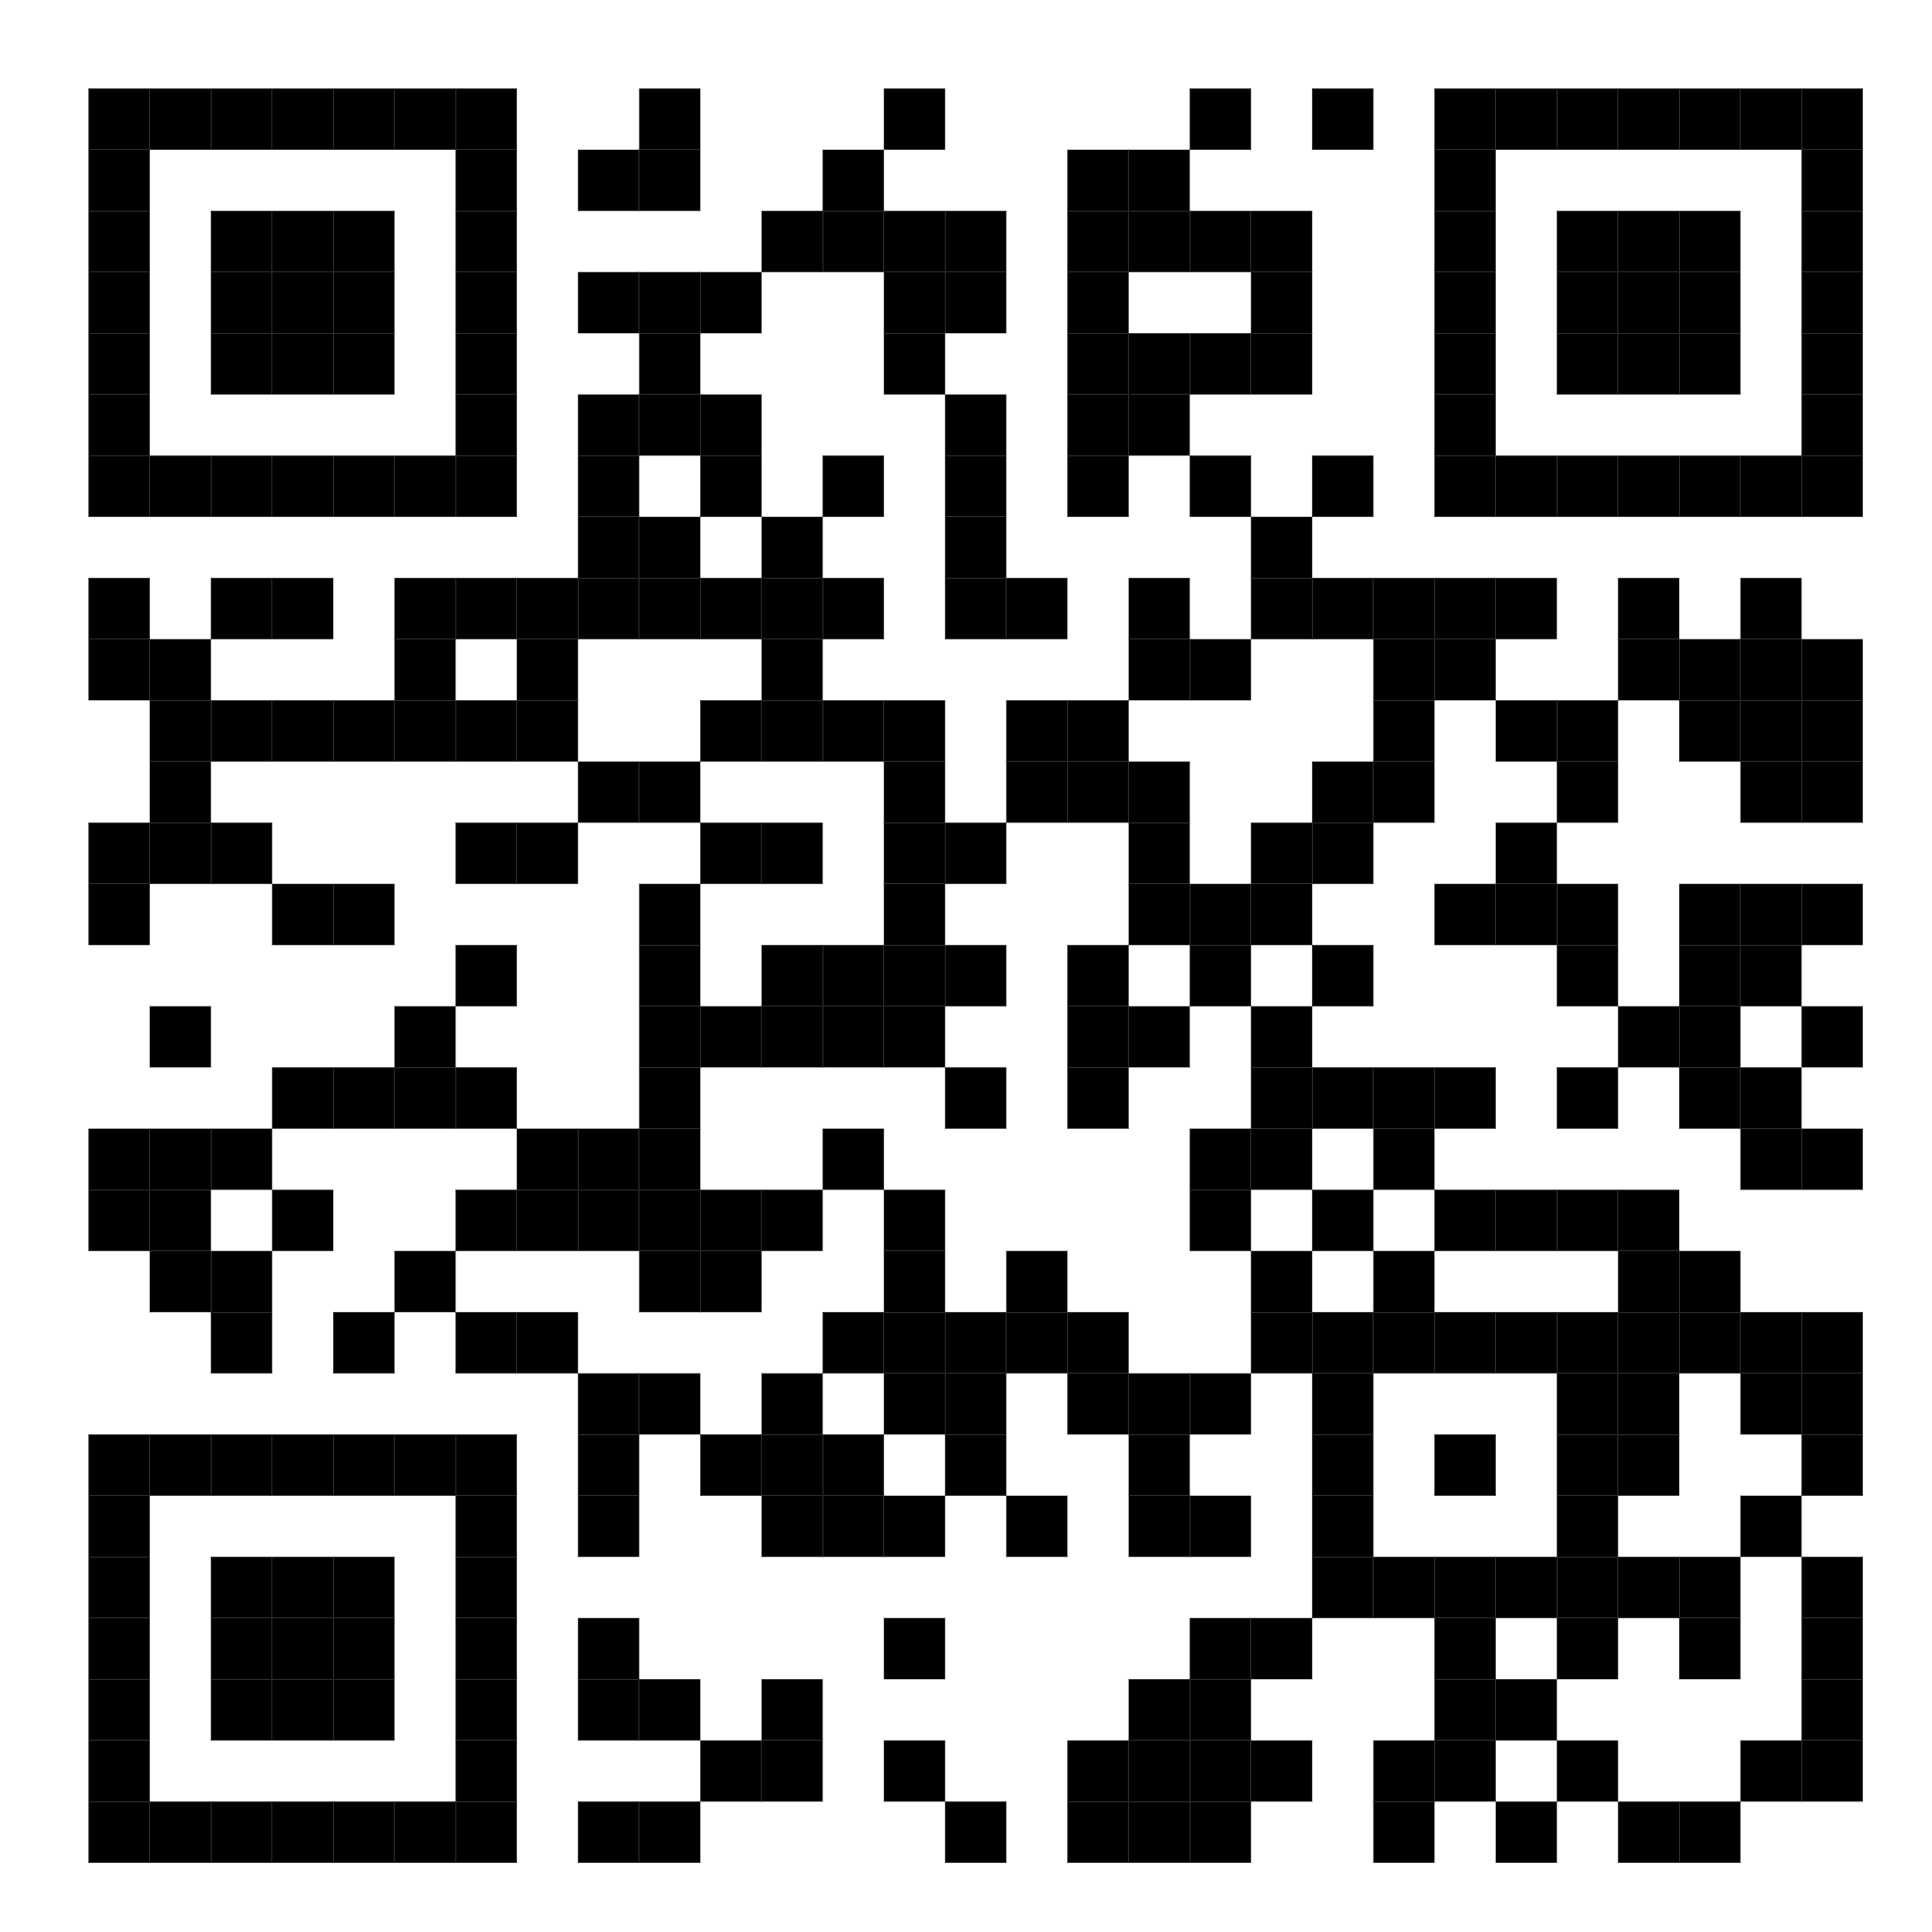
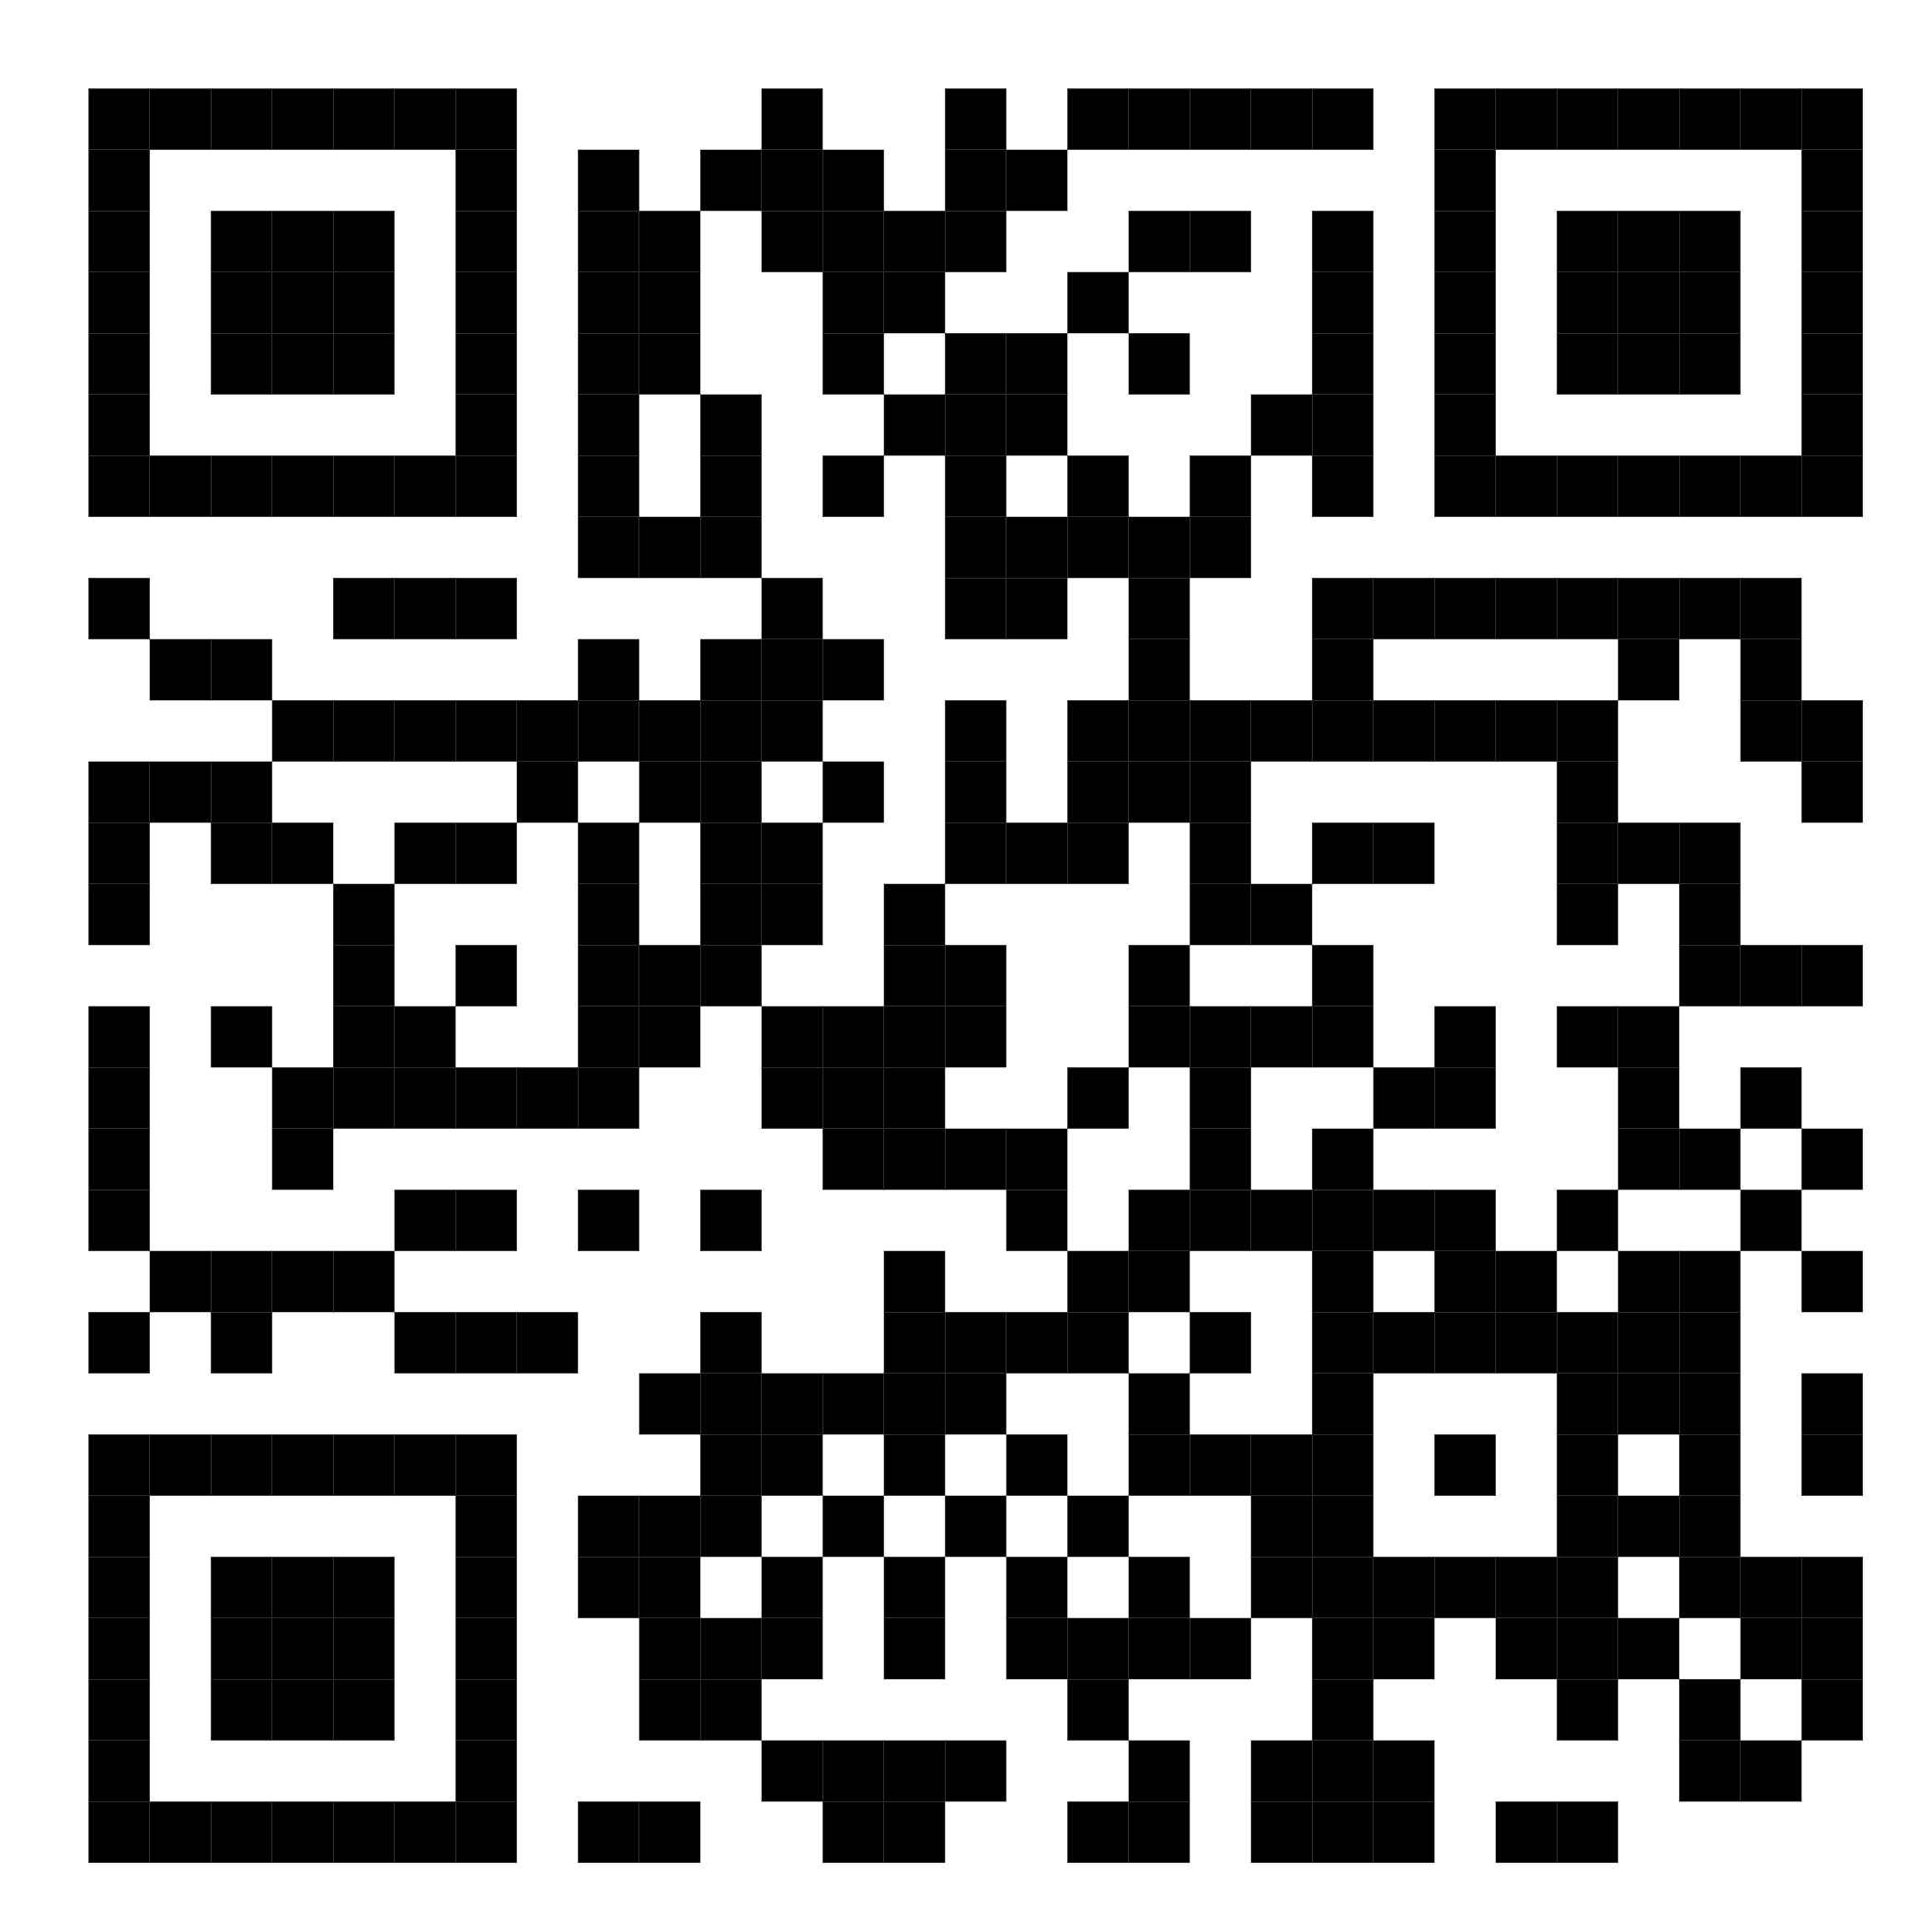
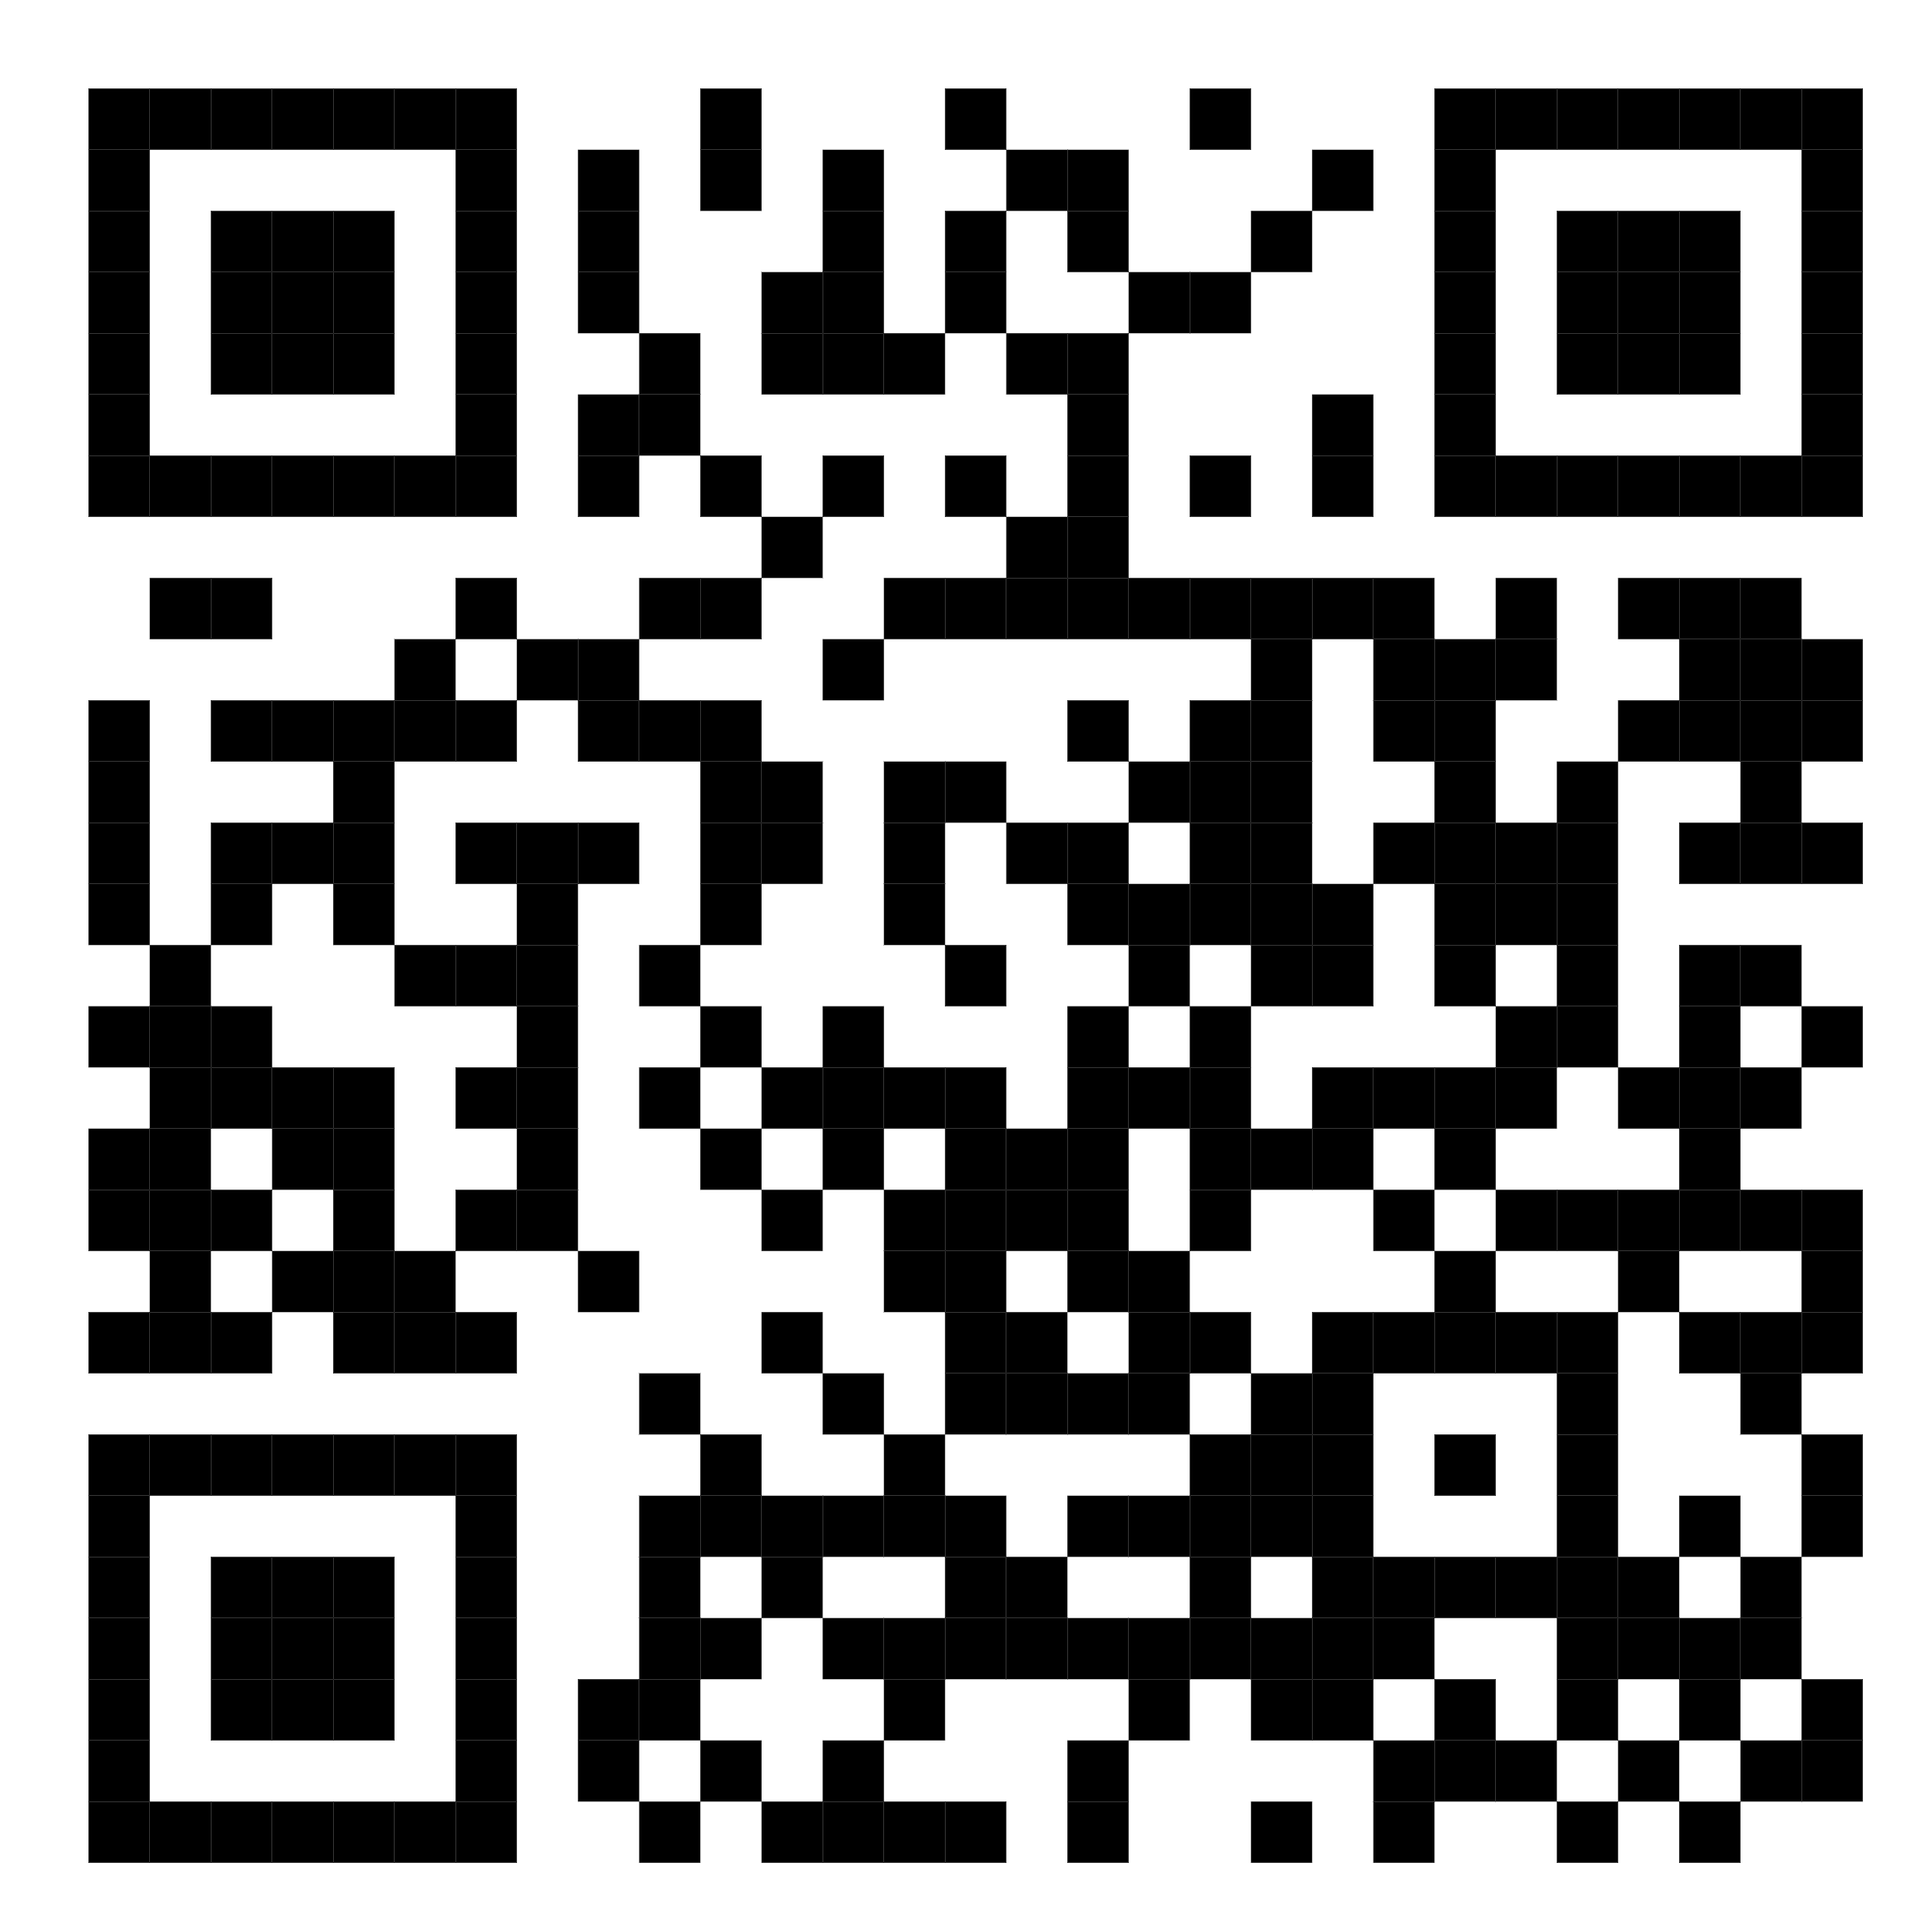
Download your preferred authentication app from the Apple App Store or Google Play Store. See Recommended MFA Authenticator Apps for a list of links and QR codes to download and use in MFA enrollment.
Scan the code presented in the dialog.
Enter the current six-digit code from your authenticator app to complete the MFA enrollment.
Result: You have completed enrollment in MFA using your preferred Authenticator app and will now receive authentication codes to validate your login.
Enroll with SMS
To enroll in MFA using SMS text messaging as the authentication method:
Click Continue from the first MFA enrollment prompt dialog.
Select Text (SMS).
Click Confirm to verify the phone number from your User Profile is correct. If your phone number does not match or is incorrect, click Modify to change the phone number. Then, click Confirm.
Note
User phone numbers can be updated later from their User Profile. When changing a Merchant user's phone number for MFA SMS, perform due diligence to verify their identity.
After clicking Confirm, you will be sent the following SMS text message to the number you’ve confirmed:
Payrix Verification Code: Use this one-time verification code to complete sign-in: XXXXXX. Do NOT share this code with anyone. This code is valid for 10 minutes. Reply STOP to opt out.
Important!
Merchants replying STOP to opt out of SMS messages won't receive further MFA codes until texting START to opt back in. If they lose the opt-in number, they must contact their Referrer to reset MFA.
Enter the current six-digit code from your SMS message to complete the MFA enrollment.
Result: You have completed enrollment in MFA using your preferred SMS number and will now receive authentication codes to validate your login.
Recommended MFA Authenticator Apps
Many MFA apps are available to choose from. The following table lists the trusted authentication apps that we recommend for individuals to use in MFA enrollment:
App | iOS | Android |
Microsoft Authenticator | .jpg?inst-v=770d4907-43d3-4233-9af0-e40fd750d5f2) |  |
Google Authenticator | .jpg?inst-v=770d4907-43d3-4233-9af0-e40fd750d5f2) |  |
Okta Verify |  |  |
RSA SecurID | .jpg?inst-v=770d4907-43d3-4233-9af0-e40fd750d5f2) |  |
Reset User MFA Enrollment
When users encounter problems with the devices that receive authentication codes for MFA due to damage, loss, device upgrade, or theft, MFA can be disabled and re-enabled to prompt the user to re-enroll in MFA where the enrollment process outlined above will be shown to the user again on next login.
See the recommended points of contact for each user access level on the platform to reset their individual MFA enrollment:
Referrers: Contact Payrix Pro Support.
Merchants: Contact your Referrer.
Reset Merchant User MFA Enrollment
Referrers manage and support their individual Merchants' MFA enablements and resets for convenient self-service management of their portfolios. Referrers can take the following steps to reset a user’s MFA enrollment:
Click Users from the Management section of the left navigation panel.
Click the user you want to modify to access their User Profile page.
Click the Edit icon.
Update the Multifactor Authentication Enabled value to No.
Click the Check icon in the upper right to complete and save the change.
Click the Edit icon again.
Update the Multifactor Authentication Enabled value to Yes.
Click the Check icon in the upper right to complete and save the change.
Result: When the user tries to log into the portal, they will be prompted to complete the MFA enrollment again, allowing them to use a new device and authenticator app or SMS number.
Logging In as Another User
After users are enrolled in MFA, they will also be prompted to submit an MFA code when logging in to their child entities' portal views. For example, a Referrer logging in as one of their Merchants must submit an MFA code if their Referrer account has MFA enabled. The same rules will apply that a user can use Remember Me for up to 30 Days to only require re-authentication every 30 days.
Remember Me
After a portal login attempt, users enter a temporary authenticator code and can optionally select Remember Me for up to 30 Days. Once users complete MFA enrollment and attempt to log in to the portal, they will be prompted to enter the current temporary authenticator code.
At this point, users can select the Remember Me for up to 30 Days checkbox. Users won't be prompted for a temporary MFA code on their next login within 30 days.
Note
Remember Me can be used by multiple devices under one account at a time.
To properly enable Remember Me, users must allow location sharing when prompted by their browser when accessing the portal. Ensure that your browser is not set to block location sharing from the portal URL.
Select the Remember Me for up to 30 Days checkbox before entering the authenticator app code to prevent the selection from being discarded.
