Login Screen Templates Table
The Login Screen Templates table contains a list of all of your saved templates, and includes the following information:
Login Screen Templates Table Column Name | Description |
|---|
Description | The name of the saved template. |
Created | The date that the template was created. |
Active | Indicates that the template is currently in use on one or more websites associated with your account. |
Login Screen Templates Table Actions
The Login Screen Templates Table section supports the following actions: edit, designate a template as your active login template, add a new template.
To add a new template, follow the steps below:
Step 1: Click the ADD LOGIN SCREEN TEMPLATE icon in the right side of the table to open the Add a Template lightbox.
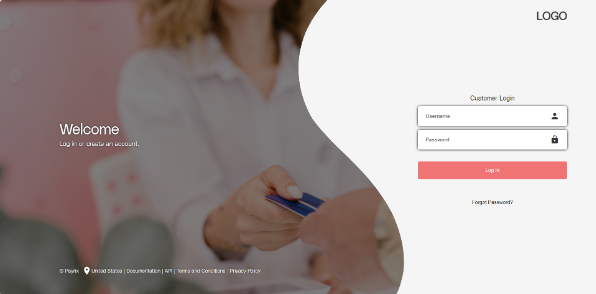
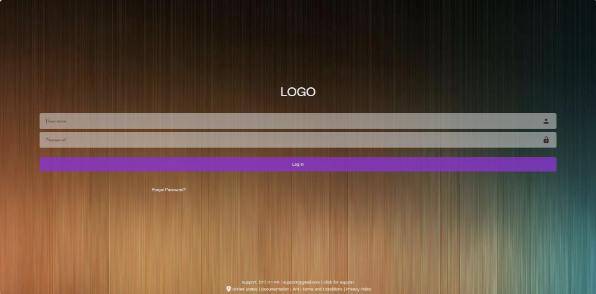
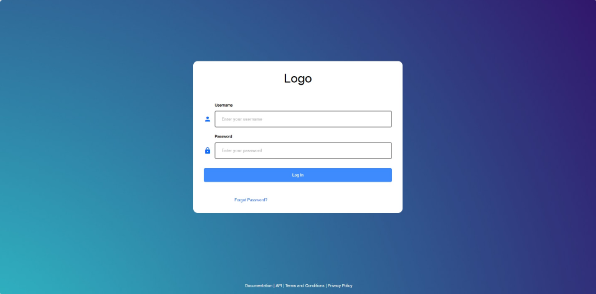
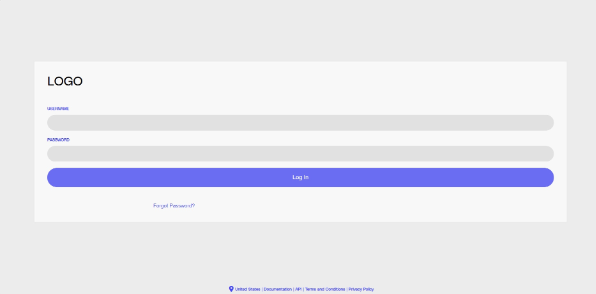
Step 2: Select one of the saved template options and click NEXT at the bottom of the lightbox.
Step 3: Enter any Setup Details:
Setup Details Paraemter | Description |
|---|
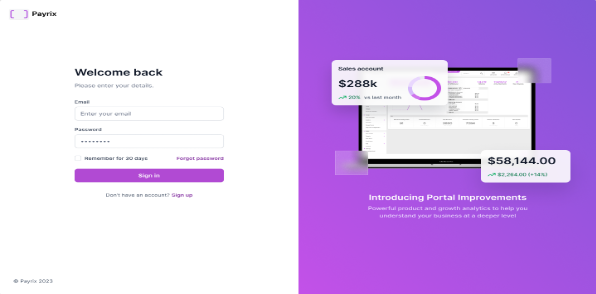
Header | The primary header (<h1>) that appears on the template |
Subheader | The sub-heading (<h2>) that appears directly below the header and before the login fields. |
Description | The custom identifier shown on the Login Screen Templates page table to help identify each template. Not visible by the end-user. |
Primary Color | The background color of the image/icon section outside the user login form. |
Primary Color Contrast | The color of the primary text elements shown on the image/icon section of the screen. |
Seconday Color | The background color of the user login form area. |
Secondary Color Contrast | The font color of the user login form area. |
To edit your saved templates, follow the steps below:
Step 1: Click the PENCIL icon in the right side of the table to open the Template Editing lightbox.
Step 2: Select one of the saved template options and click NEXT at the bottom of the lightbox.
Step 3: Enter any Setup Details in the open fields in the lightbox.
Step 4: Click Update to save your changes, or discard your changes and return to the previous page by clicking CANCEL.
To choose a template to display at login, follow the steps below:
Step 1: Locate the saved template that you want to activate in the table.
Step 2: Click the PENCIL icon in the right side of the table to open the Template Editing lightbox for the saved template.
Step 2: Click NEXT at the bottom of the lightbox.
Step 3: Click the ACTIVE selection box in the upper left hand corner of the lightbox.
Step 4: Click UPDATE to save your selection. The template will now display a checkmark in the Active category of the table. Otherwise, discard your changes without saving by clicking CANCEL.

.png)