.png)
Use Case: Board a New Merchant
You must board Merchants to allow them access to your platform for payment processing, receiving payouts, and Payrix Portal resource access. This tutorial walks you through the steps to successfully board a new Merchant, and additional options to complete following successful onboarding.
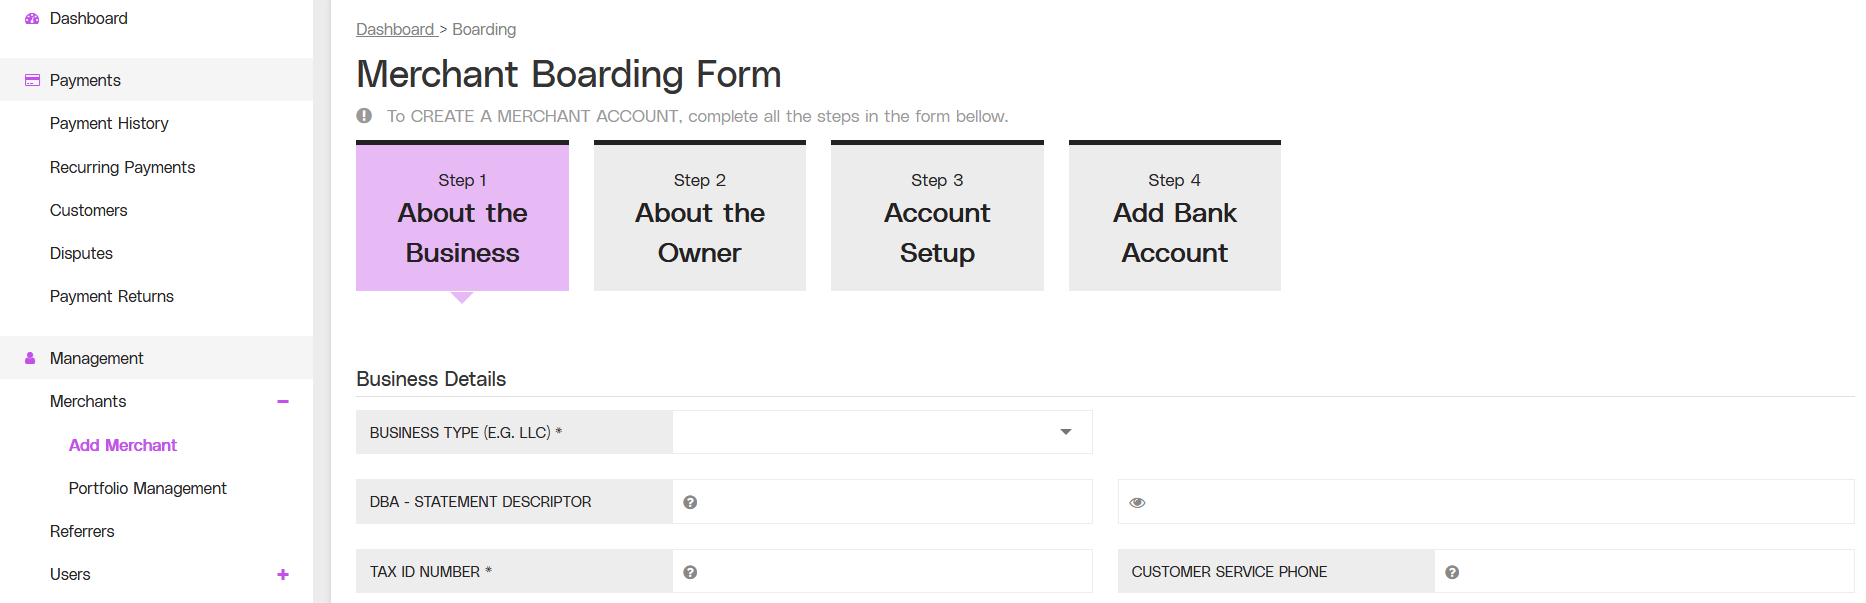
Partial view of the Merchant Boarding Form page, including the About the Business section.
Objectives
Successfully board a new Merchant with their bank account information.
Enable portal access and payment processing for the new Merchant (following approval).
Audience
Referrers
Environment
Portal (Sandbox)
Portal (Production)
Prerequisites
Prerequisites:
Your Referrer account must be fully boarded to perform any of the actions described in the use case guides.
Make sure you have access to the information required for the forms on the Add Merchants page. The required Merchant information includes the following:
Owner information
Business Information
Bank account information (including account and routing numbers)
Warnings
Warning: You can discard your changes and return to the dashboard view at any time by clicking Cancel Add Merchant in the lower-right corner of the page. Note that doing so will delete any information that you added to the form.
Warning: For bank account information submitted manually or requiring manual review, supporting documentation will be required for approval, and can take up to 5 business days before funds can be accepted in the account. See Bank Account Maintenance for more information.
Tips
Tip: To navigate the Merchant Boarding Form, you can click on any of the four Step Boxes listed at the top of the page, or you can move forward or backward between the steps by clicking Go To Step x in the lower-right corner of the page, or Back To Step x in the lower-left corner.
When you navigate between form sections, the information that you enter will automatically be saved when you navigate to a different section.
Additional Resources
Read the Merchant Boarding implementation guide and the boarding form definitions and requirements.
The onboarding process requires information that will be necessary for the review of pending Merchant accounts. For more information about the onboarding process, see Merchant Boarding - Best Practices.
Board a New Merchant
Ensure that you complete all steps in the following sections.
Open the Merchant Boarding Form
Navigate to the Add Merchants page to begin the onboarding process:
Click Merchants in the left navigation panel to open the Merchants dropdown menu.
In the left navigation panel, click Add Merchant to open the Merchant Boarding Form page. Alternatively, you can click ADD MERCHANT in the upper-right corner of the Merchants page to open the form.
Result: The Merchant Boarding Form opens the Merchant Boarding Form.
Complete the Merchant’s Business Details
Enter information about the Merchant in the Business Details section of the Merchant Boarding Form:
Enter information in the fields. An asterisk (*) indicates a field that is required.
After you enter the information, click Go To Step 2 in the lower-right corner of the page, or select one of the boxes at the top of the page to go to a different section.
Result: The information you entered will automatically be saved when you navigate away from the section, and the next section opens on the page.
Complete the Merchant’s Platform Account Setup
Enter information in the three remaining sections as you did in the instructions above:
Under About the Owner, enter information about the sole proprietors or any individual who owns 25% or more of the business, as well as any individuals with significant responsibility.
Under Account Setup, select Accept Terms and Conditions to indicate the Merchant accepts the Terms and Conditions, and optionally enter the acceptance information.
(Optional) If you use an existing group for Merchant fees, billing, or other configurations, select ADD NEW MERCHANT TO GROUP and select the group from the revealed dropdown list.
(Optional) If you want to create Payrix Portal user login credentials for the new Merchant, select CREATE LOGIN FOR MERCHANT, and provide all required information in the revealed form. You can optionally apply a User Access Template to the user login.
Under Add Bank Account, add the Merchant’s bank account information for withdrawals and funding of fees.
Result: The information you entered will automatically be saved when you navigate away from the section, and the next section opens on the page.
Add the Merchant’s Bank Account
When you are ready to complete the merchant boarding process, follow the steps below:
Navigate to the Add Bank Account step.
Click Add New Merchant in the bottom-right corner of the page to complete the boarding process, or click Cancel Add Merchant to cancel the boarding process.
Result: After you submit the form, the Merchant will undergo an automatic risk review. This might be followed by a manual review, if applicable.
Next Steps
After the Merchant is successfully boarded, follow the optional tutorials linked below to finish setting up the new Merchant account:
Add a transaction fee: See Fees to set up transaction fees for the new Merchant account.
Add email alerts: See Set Up Web Alerts and Email Alerts (Referrer) to create an email alert associated with the new Merchant account.
Setup risk rules and review risk assessments: To review any flagged Merchants or transactions, visit the following pages:
Conclusion
When the risk review is complete, the Merchant will be fully boarded and ready to process transactions.
References
Click the links or items below to access any of the following pages: