.png)
Use Case: Set Up a Division
You can create a division to implement workflows, define whitelabel settings, and adjust other applicable parameters to specific Groups in your portfolio. This tutorial walks you through setting up a new Division and adjusting its parameters.
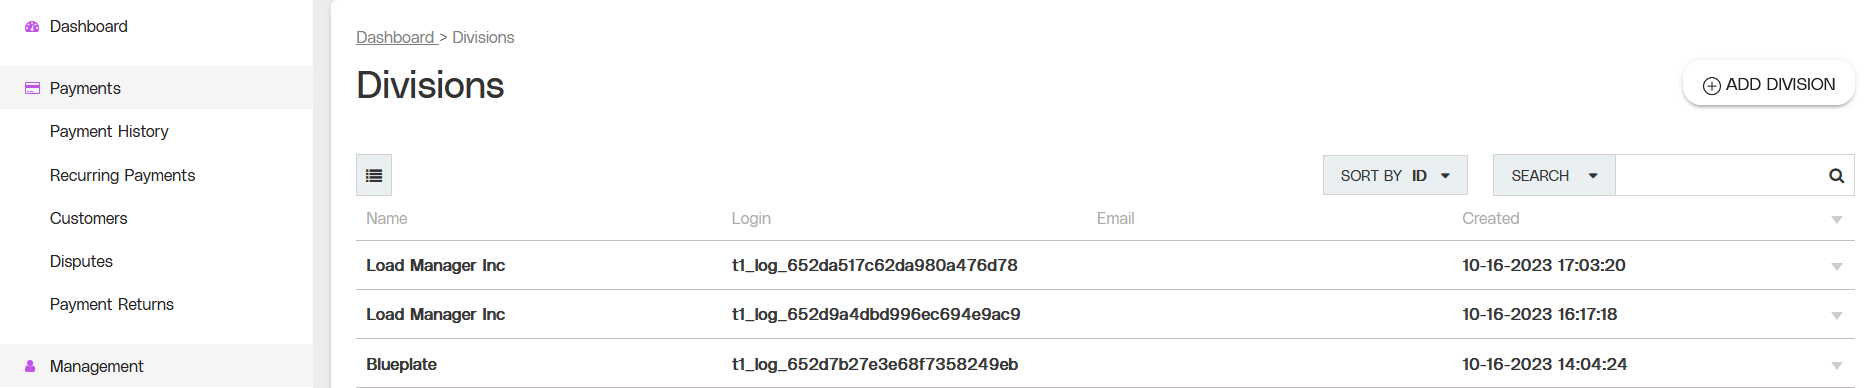
Partial view the Divisions page, including the ADD DIVISION button.
Objective
Create a new division with customized parameters.
Audience
Facilitators
Environment
Portal (Sandbox)
Portal (Production)
Prerequisites
Prerequisites:
You must have a fully boarded Payrix account to perform any of the actions described in the use case guides.
You will need to enter a login ID during the division setup process.
To find your login ID, click PROFILE in the upper-right corner of the page.
If you are setting up the division with another user’s login information, you can find their login ID in their user profile by clicking USERS in the left navigation panel, then clicking their user information in the Users table to open the User Profile page.
Tips
Tip: When a Referrer completes a signup form with Payrix as their Facilitator, their division will be automatically created with their successfully boarded account.
Tip: When a Referrer is under the Payrix Partition and is ready to whitelabel their Merchant Portal offering, submit a White Label Request to the Payrix Implementation Team to integrate your preferred branding and preferences.
Additional Resources
See the tips below to help you get started:
For more information on the types of portal users and their roles, see Understanding Users and Roles.
For more information about divisions, see Understanding Divisions.
Set Up a Division
Access the Divisions Page
Click DIVISIONS under the Admin category in the left navigation panel to open the Divisions page.
Add a New Division
Click ADD DIVISION in the upper-right corner of the page to open the Add Division section.
Enter your login ID and the name of the new division.
(Optional) Enter an email address as a contact for the new division. This email address is visible to users in the From field in emails sent by the referrer. This is optional and if left blank, the From field will be populated by a generic partition email address when emails are sent.
Click ADD to save your new division. The division name will now be visible in the Divisions table on this page.
Adjust Divisions Parameters (Optional)
Click the name of the new division in the table to open the Division Profile page.
Click on any of the tabs in the left side of the profile page to access their contents and adjust the new division’s parameters. Host URLs, entity routes, profit shares, invoices, and workflows are some examples of parameters that users typically adjust when setting up a new division.
Result: The new division is saved and will be displayed in your Divisions page table.
Next Steps
After setting up the new division, review the following use case guides for additional information on related topics:
Customize User Access Roles: Customize or update roles for users boarded under your account.
Set Up a Group: Create a new group of entities under your account.
Conclusion
After you have completed setting up your new division, it will be visible in the table on the page. Click on any information in the Divisions table row to access the Division Profile.
References
Click the links or items below to access any of the following pages: