.png)
Use Case: Board a New Referrer
You can optionally add Referrers (sometimes referred to as “Vendors”) under your portfolio to dramatically increase transaction and service fee volumes from Merchant transactions. This tutorial walks you through the steps to board a new Referrer, with the option of creating a Division for the Referrer.
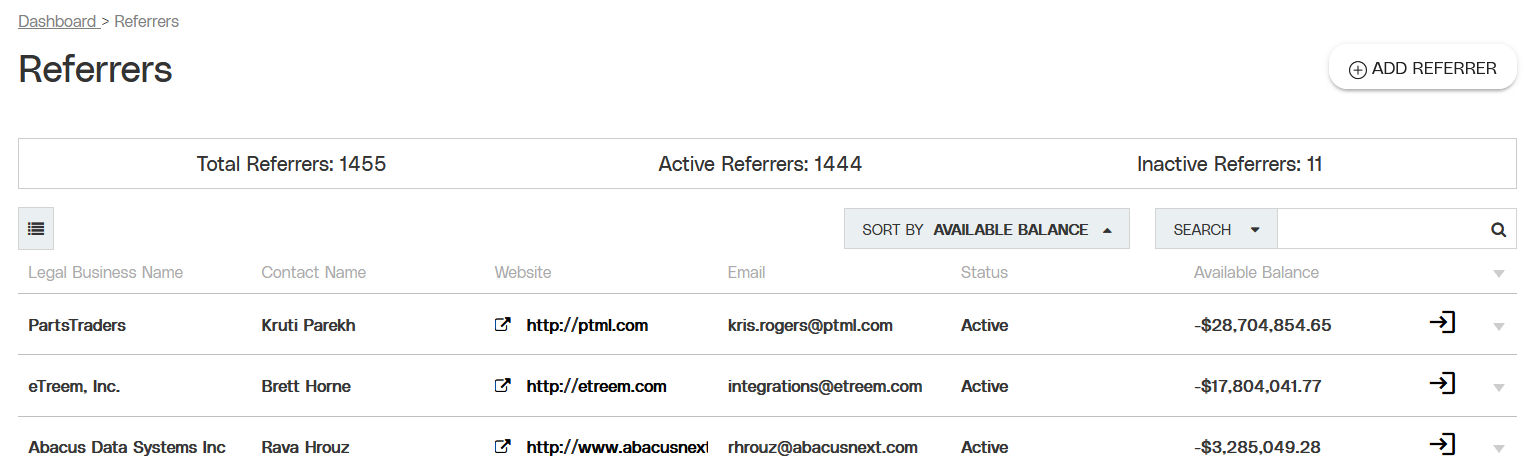
Partial view of the Referrers page and the ADD REFERRER button.
Objective
Create a new Referrer account and add the primary Referrer’s user information.
Audience
Facilitators
Environment
Portal (Sandbox)
Portal (Production)
Prerequisites
Prerequisites:
You must have a fully boarded Facilitator account to perform any of the actions described in this use case guide.
You must have the required information about the Referrers business, including the following:
Owner information
Business information
Bank account information (including account and routing numbers)
Warnings
Warnings will provide insight or advice to avoid risk, visibility, and product performance issues during this use case.
Warning: Risk review is required as part of the boarding process for all new Payrix accounts. After you complete the use case steps below, the Referrer account will undergo an automatic risk review. You will be contacted via email if additional manual review or supporting documentation is required.
For more information about risk review, see the Risk and Compliance Guide page.
Additional Resources
For more information about the Referrer boarding process, visit the Referrer Boarding (Payrix Pro) section.
Board a New Referrer
1. Access the New Referrer Form
Step 1: Click REFERRER in the Management category in the left-hand navigation panel to open the Referrer page.
Step 2: Click the ADD REFERRER button in the upper right-hand corner of the page to open the Add Referrer lightbox on the page.
2. Enter Referrer Business Information
Step 1: Enter the business information for the Referrer in the upper portion of the lightbox.
Step 2: Accept the Terms and Conditions by clicking the TERMS AND CONDITIONS BOX below the business information section.
3. Enter Referrer Contact Information
Step 1: Enter the primary Referrer's email address.
Step 2 (Optional): Enter a username, password, and user information to create a new user for the Referrer in the open fields.
4. Create a Division (Optional)
Create a Division for the Referrer by clicking the DIVISIONS BOX below the contact information section.
5. Finish Adding the Referrer
Click ADD REFERRER at the bottom of the lightbox to finish adding your new Referrer.
Result: The new account will now undergo risk review.
Next Steps
Once your new Referrer is boarded, review the following use case guides for additional information on related topics:
Setting up a Division - You can manually create a Division for yourself or a new Referrer at a later time to apply whitelabel settings, work flows, and more using the Set Up a Division use case.
Setting Up a Referrer Group - You can group your Referrers to apply the same fees and other settings using the Set up a Group use case.
Setup Risk Decisions - Establish automated risk review and response actions for your Referrers individually or in a Group, using the Automate Risk Decisions for Groups use case.
Setup Platform Access Fees - Create a fee structure for your group for a monthly fee charged to Referrers for access to your platform offering, using the Set up a Custom Platform Fee use case.
Conclusion
The new Referrer account will now undergo risk review (see Warning box above). Once the Referrer's account is approved, the account will be active and the new Referrer will be able to board Merchants and perform other actions on the Platform.
References
Click the links or items below to access any of the following pages: